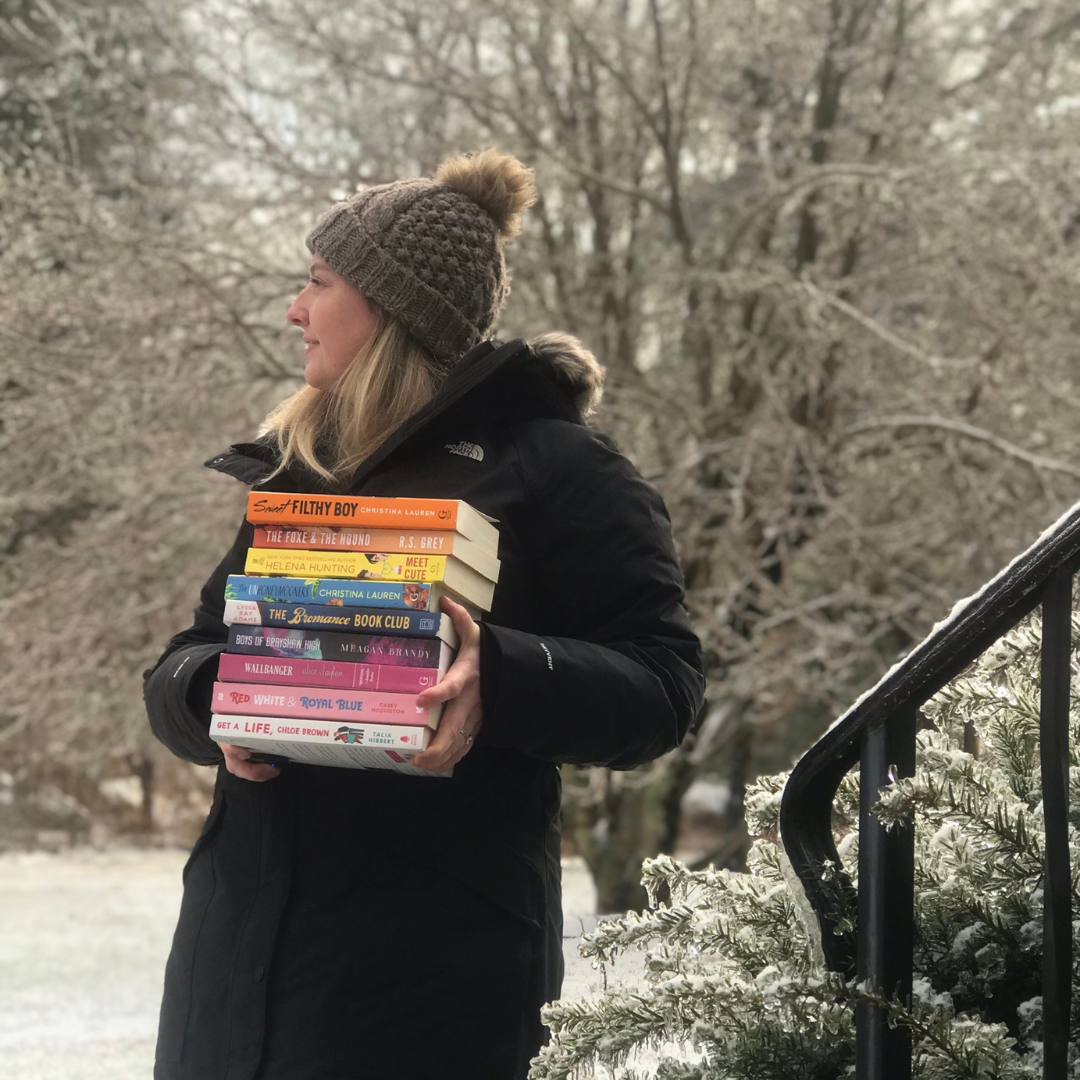
Bookstagram Tips & Tricks
This post may contain affiliate links.
Do you ever scroll through bookstagram and think, “Dang, how did they get their paperback books to stand up like that?” or “Dang, how did they get that pic to look so bright?” or “Dang, it looks like they are using some really expensive equipment to get these cool pics.” I am here to tell you that you can absolutely take beautiful bookstagram photos with a little creativity but very little cost.
Of course, I am not a photography or instagram or bookstagram expert. Just some tips that I have found helpful!
1. Get that lighting right!
As with any photo project, great light is clutch. It is easiest to achieve good bright lighting by using natural light. Unless you are going for a specific shadowed look, an overcast but bright day is ideal. For me, I have a big sliding door that is a great spot to set up a flat lay. Find a window that can offer a good swath of light for your setup. Sometimes, using a window will only give you lighting on one side and harsh shadows on the other side of your photo. This is where you need a “light bouncer”. You can buy something that is specific for this purpose but really anything that bounces light will lighten up your shadows. White paper or some aluminum foil wrapped on a piece of cardboard will definitely work and are very inexpensive.
2. Get those books to stand up loud and proud!
My secret to getting my paperbacks to stand up is a big ol’ rubber band. Attaching all the books together will create a little book brick that will stand up no problem! You could also use paperclips or binder clips to attach books to each other or clear bookends that are easily hidden by camera angles are great!
3. Create the “books in bed” look, without the bed!
Bookish people love a cozy look, perhaps a book on a bed in a plush blanket. My bed is not in a spot with beautiful natural light but I love the look of a book in a bed. This is where a white sheet comes in! I set up a white sheet on the floor next to my lovely bright sliding door and whattaya know, I got a nice bedding look. You could also use a fluffy comforter or other bedding to get the bed look but in better lighting.
4. Use stuff you already have to jazz up your pics!
Some classic photography advice is to mix up textures. Wood, metal, fabric, plants, paper, ceramics. Anything! I have used clothing, a cutting board, food, houseplants, and coffee mugs as bookish props. Mixing in a few different textures can add dimension to the photo. You don't need to get specific book props, just look around at what you already have and see if there is something you could use.
5. Use the portrait mode for perspective photos.
Get that cool photography look with the blurry background and focused books in the front by using the portrait mode on your phone camera. If your camera doesn’t do portrait mode, try using an editing app to blur the background. Facetune does this easily and for free.
6. While we are talking editing: apps for editing!
I use two main apps for my photos. The first is Lightroom mobile. This is my favorite because you can very easily edit the photo for free, I generally brighten it and go for a cooler look, but you can also set up presets! I love the preset function and generally just use my “light & bright” preset. There are great tutorials on YouTube and around the internet on tricks for Lightroom mobile. I also love to use Canva to create a bookstagram when I don’t have the physical book. Which brings me to…
7. How to get your ebooks to stand out
I am personally a huge ereader fan. I love reading on my kindle! With a lot of books and advance reading copies being sent digitally now, it's hard to get a great photo without a physical book. There are things you can do. Go with the kindle pic! Maybe adding props or background will help the book stand out. You can also use Canva to add the book cover to your ereader with *magic*. My suggestion here would be to take your bookstagram pic with your ereader. Bring the picture into Canva. Click the plus to add another picture, which is the cover in color. Manipulate the cover so it fits onto the ereader. My biggest tip here is to try not to angle the ereader when you are taking your bookstagram. The flatter it is to the camera, the easier it will be to make the cover look right.
I hope some of these tips helped you. If you want a more in-depth tutorial on something, please let me know in the comments!


